Animation Sketchpad is an easy and intuitive animation application for Windows PC and MacOS. Draw and animate at lightning fast speeds with simple UI, intuitive features, hotkey-driven workflow and no learning curve. Create line tests, animatics and movies quickly and easily.
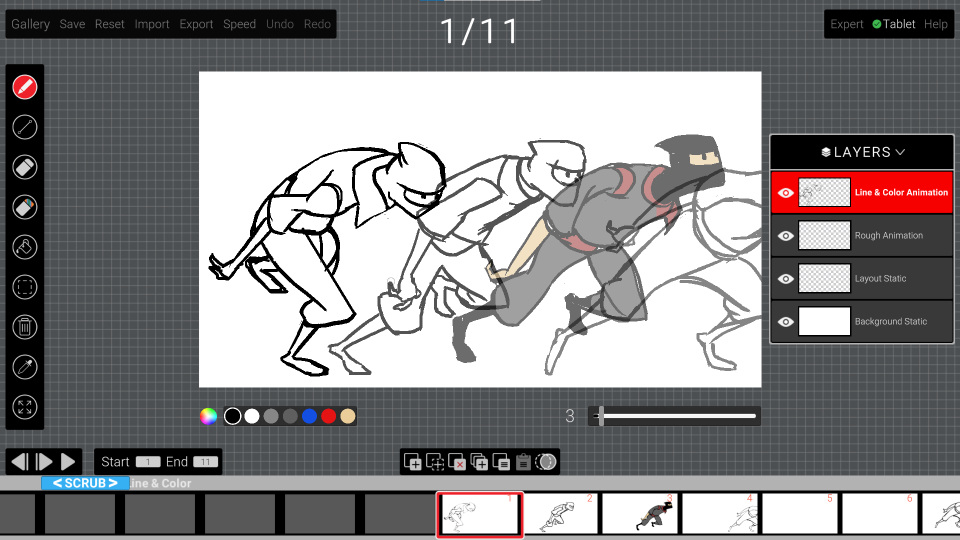
Table of Contents
General Overview
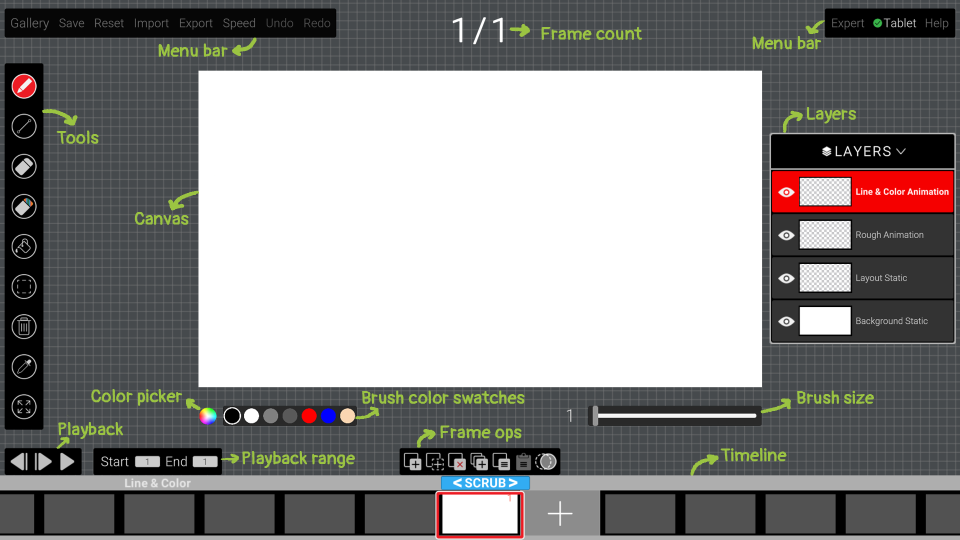
The Main Scene is where you draw, animate and create backgrounds.
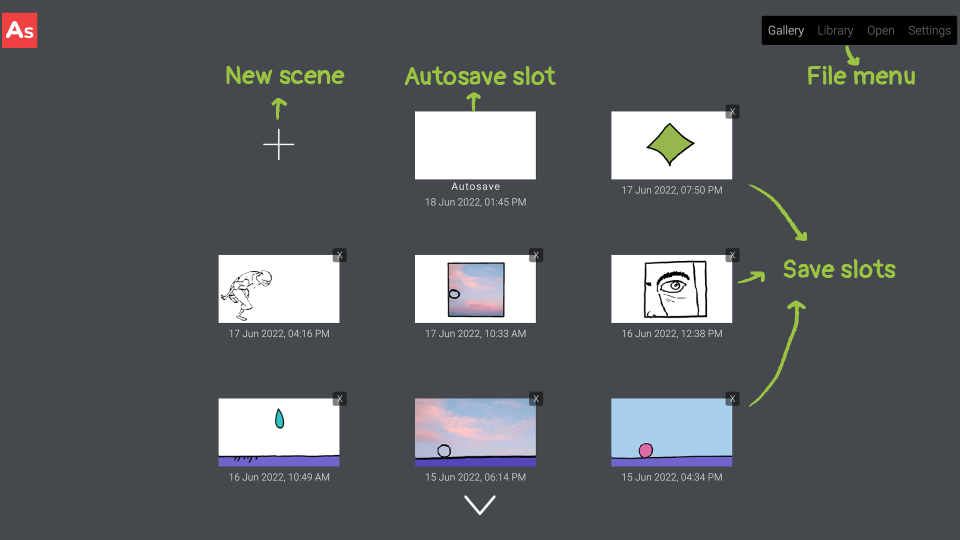
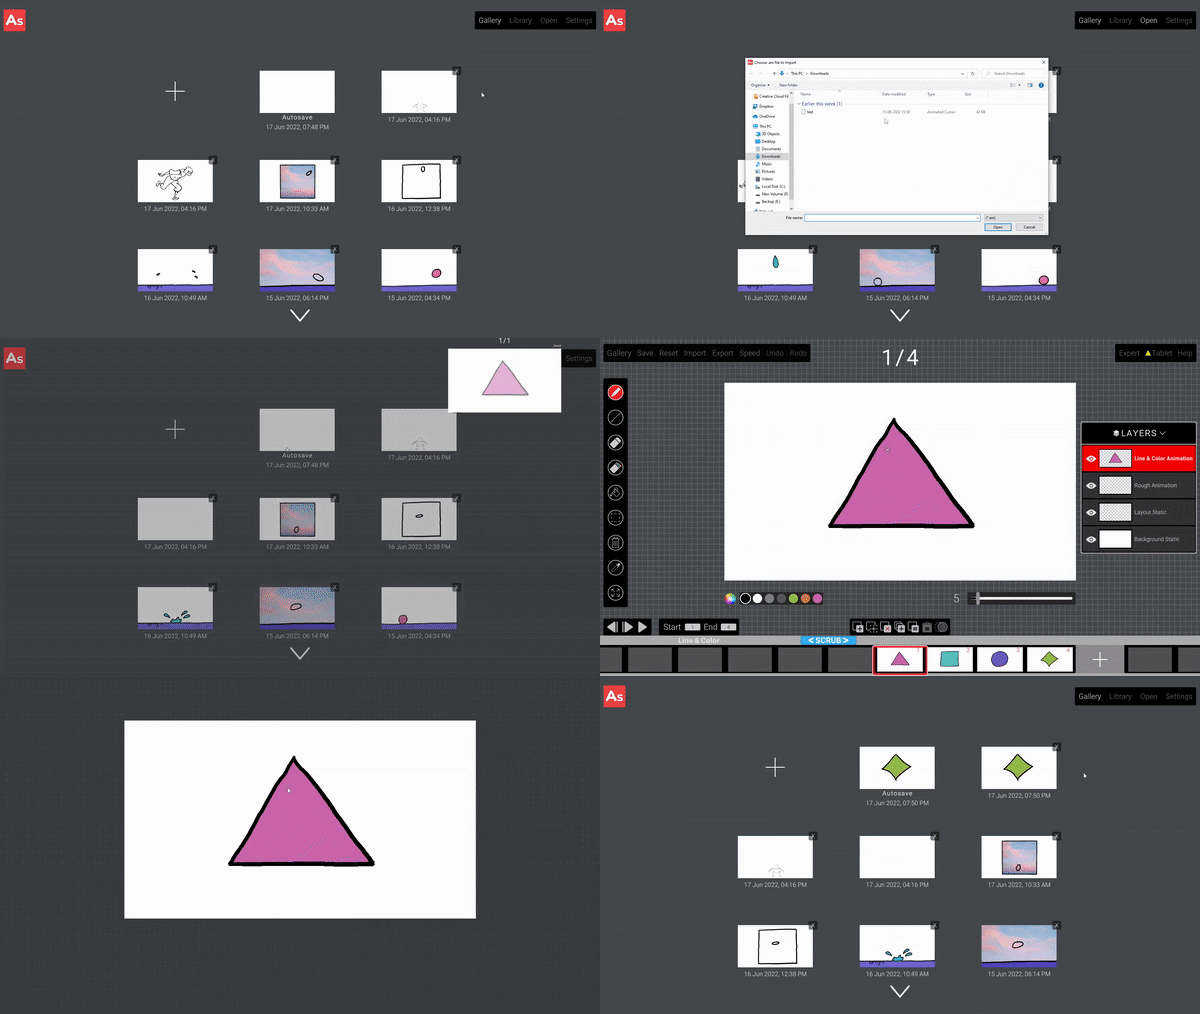
Gallery View contains all the saves. Press the Escape key to go to Gallery. Your current main scene will be saved in the Autosave slot. To return to the scene you're working on, click on the Autosave slot.
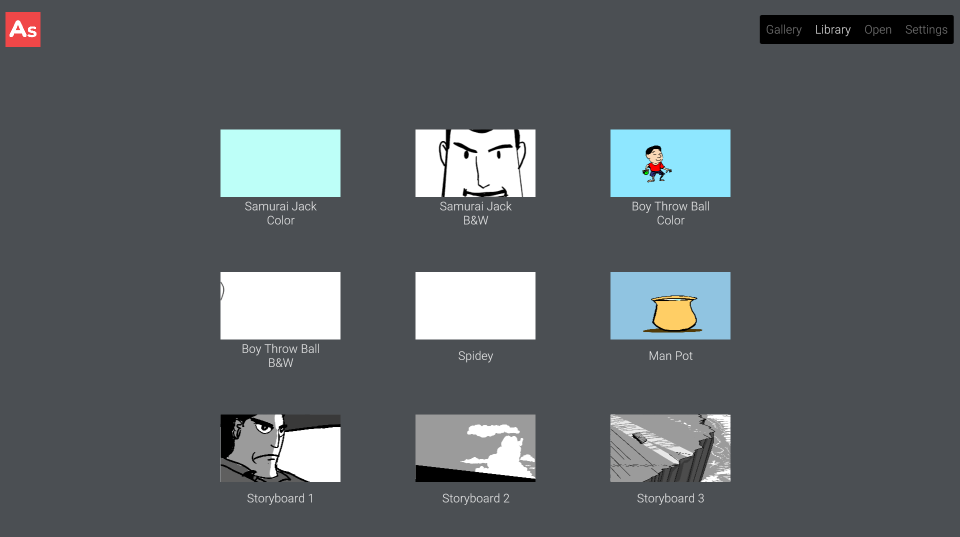
Library: Bundled animation scenes that you can work on.

Open: Opens animation files with ANI format. The .ANI format is the custom file format for Animation Sketchpad and contains all the animation, layers and background information. It can only be used in Animation Sketchpad and not any other third party software.
Settings: Changes Window Mode and Resolution.
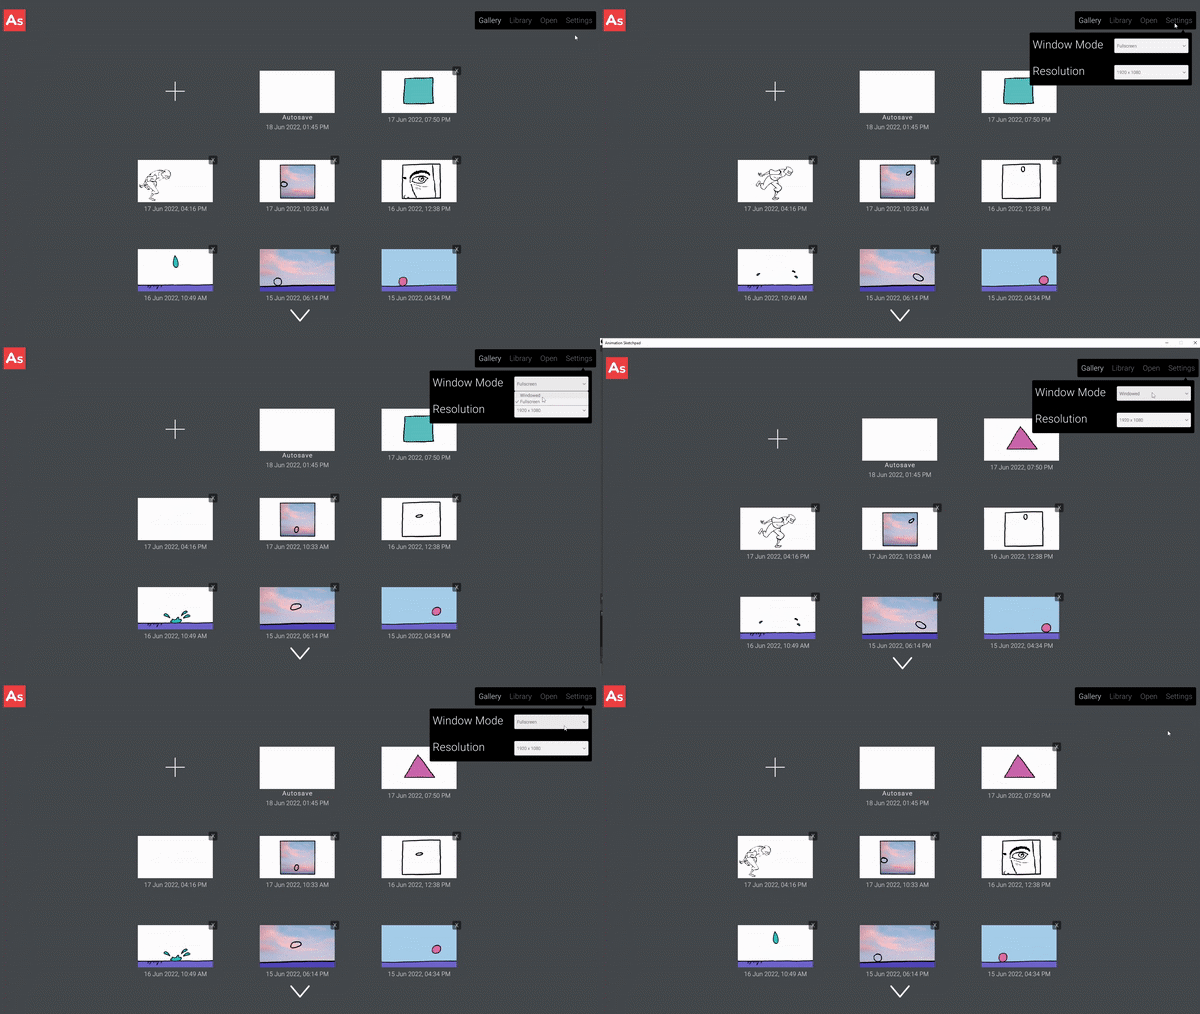
Some of the supported resolutions (more options are available on larger monitors):
- 640 x 480 (4:3)
- 720 x 480 (3:2)
- 720 x 576 (16:9)
- 800 x 600 (4:3)
- 1024 x 768 (4:3)
- 1152 x 864 (4:3)
- 1280 x 720 (16:9)
- 1280 x 768 (1.67:1)
- 1280 x 800 (16:10)
- 1280 x 960 (4:3)
- 1280 x 1024 (1.25:1)
- 1360 x 768 (1.77:1)
- 1600 x 900 (16:9)
- 1600 x 1024 (14:9)
- 1680 x 1050 (1.6:1)
- 1920 x 1080 (16:9)
Animation Overview
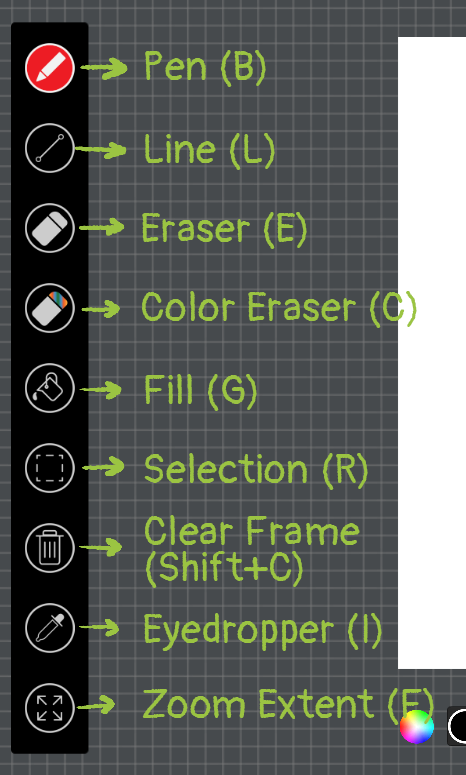
Drawings Tools are to the left of the canvas.
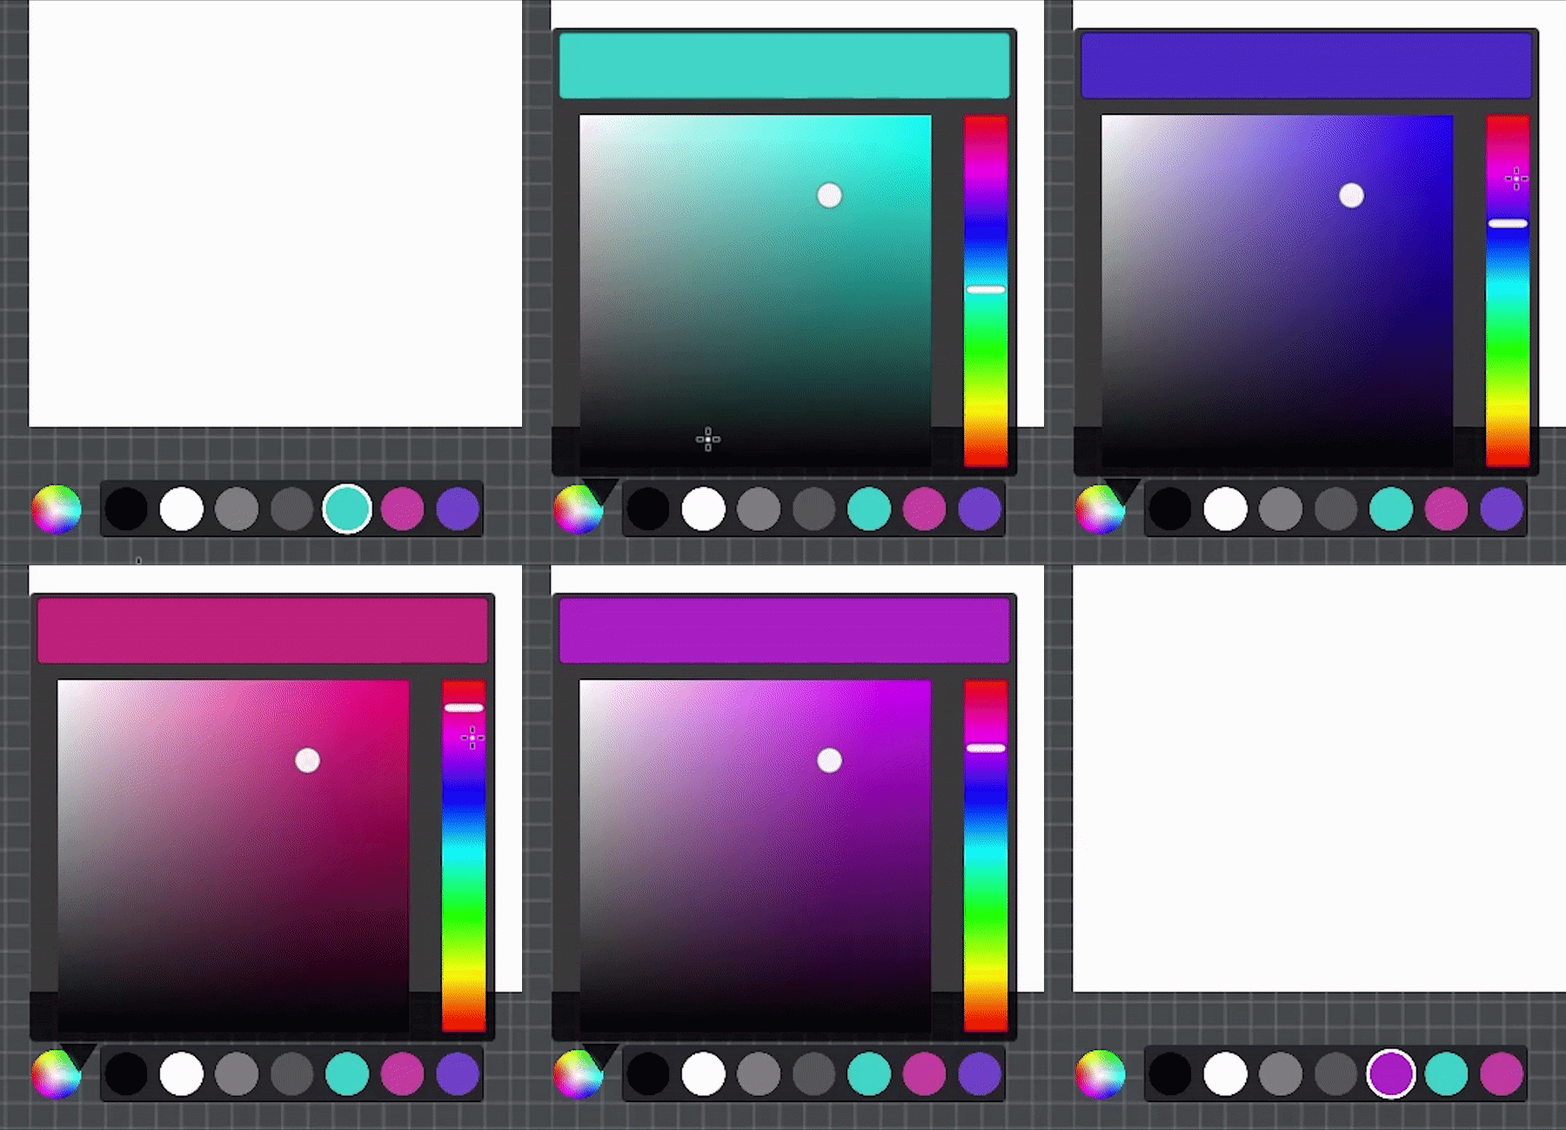
Brush Settings
Brush settings are toggled under the canvas when tools like Pen, Line, Eraser or Color Eraser are active.

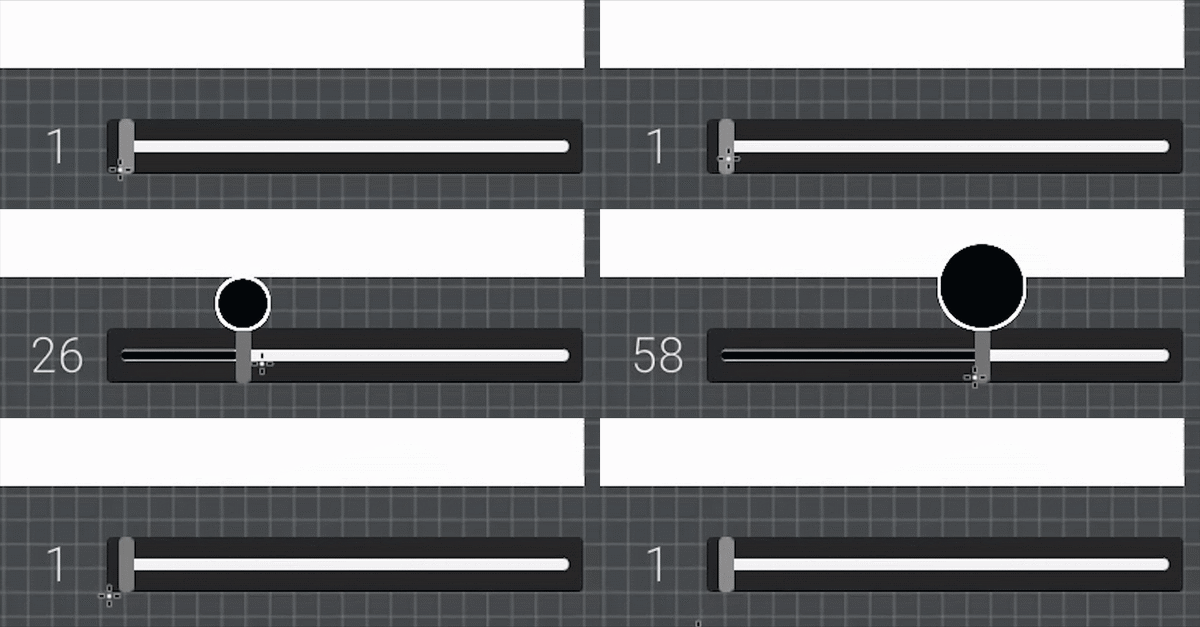
Brush Size ([ and ] key): Increases and decreases brush size.
Playback Operations
Playback operations are in the bottom left corner between the canvas and the timeline.

 Frame Backward (left arrow or A key): Navigates to the previous frame.
 Frame Forward (right arrow or D key): Navigates to the next frame.
 Play/Stop (spacebar key): Begins or stops playback of the scene.
 Start: Sets the first frame of the playback range.
 End: Sets the last frame of the playback range.
Frame Operations
Frame operations are in the centre between the canvas and the timeline.

 Duplicate Frame (Ctrl + D key): Inserts a duplicate of the active frame.
- MacOS: CMD + D Key

 Insert Blank Frame (Ctrl + A key): Inserts a blank frame next to the active frame.
- MacOS: CMD + A Key

 Delete Frame (Delete key): Deletes the active frame.
- MacOS: delete Key

 Overwrite All Frames: Overwrites all frames on the layer with the contents of
the active frame.
 Copy Frame (Ctrl + C key): Copies the contents of the active frame.
- MacOS: CMD + C Key
 Paste Frame (Ctr + V key): Pastes the contents of the copied frame in the
active frame.
- MacOS: CMD + V Key

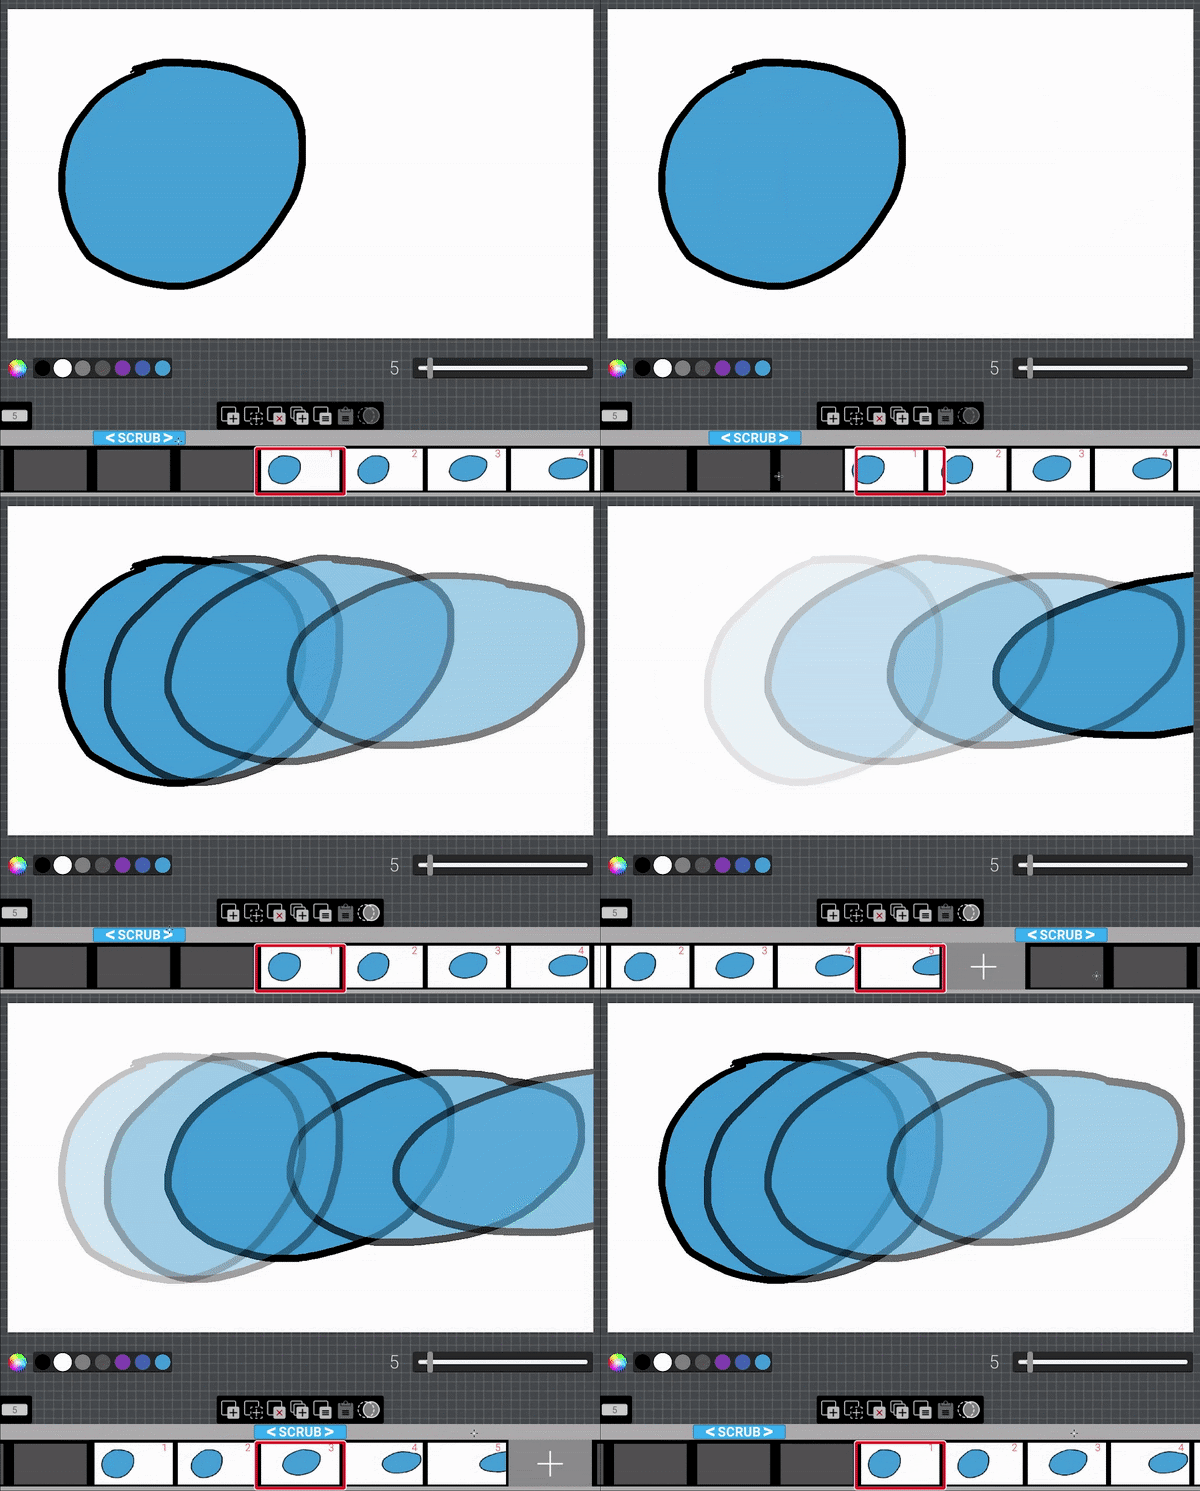
 Onion Skin (Q key): Toggles the onion skin on and off.
- MacOS: Q Key
Layers
A scene has four layers:
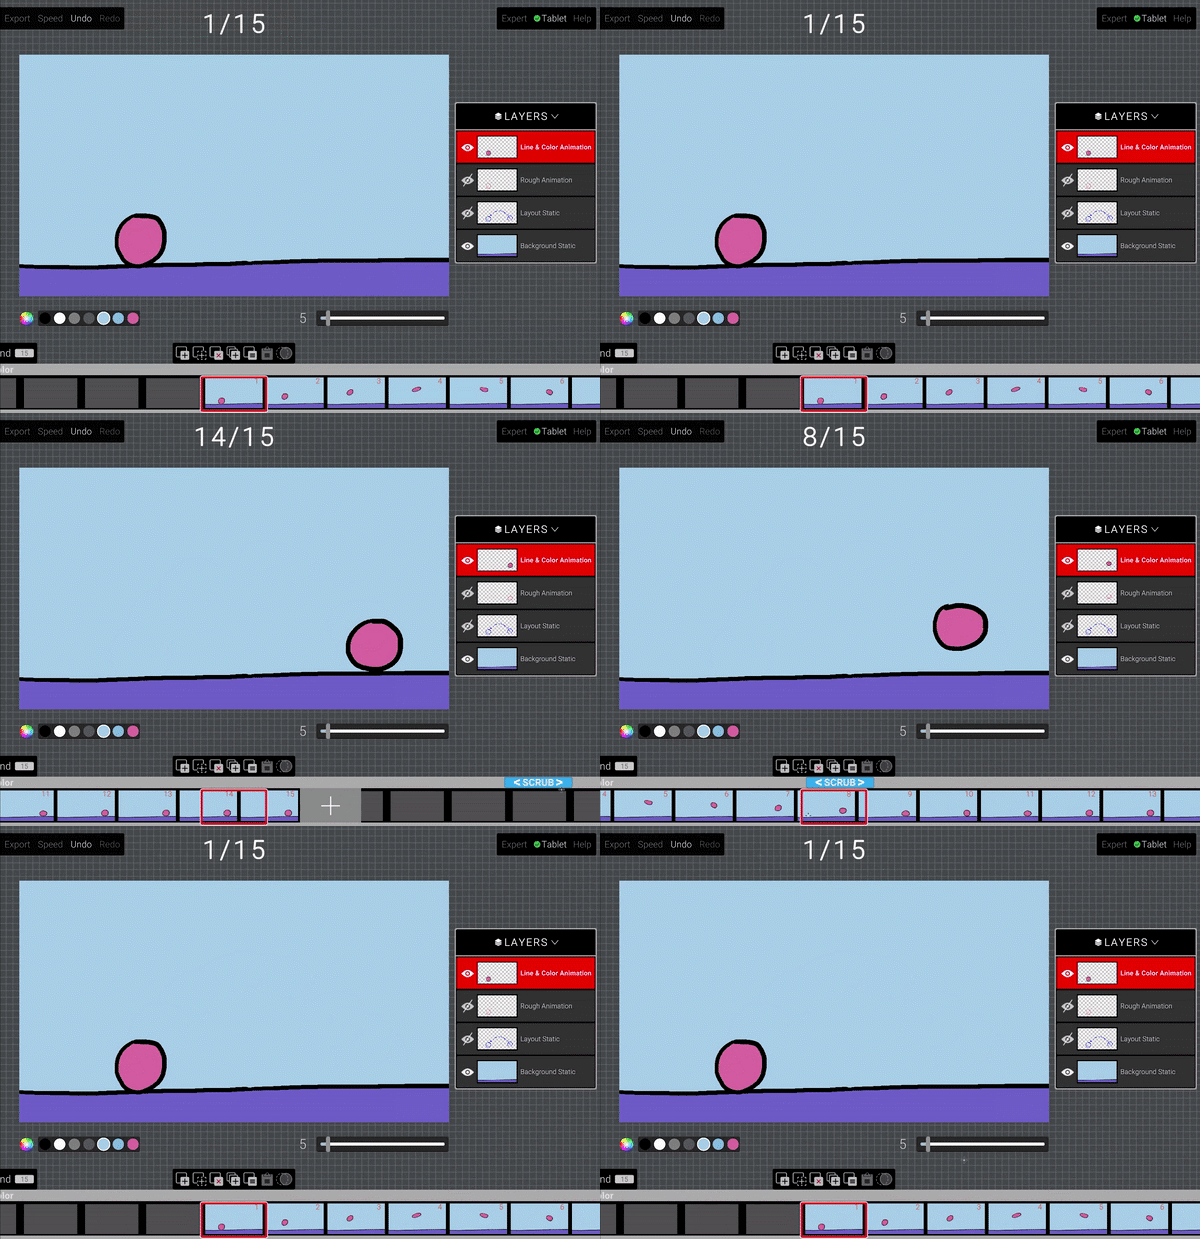
Line and Color Animation: The main layer, in which you can automatically color under black lines.
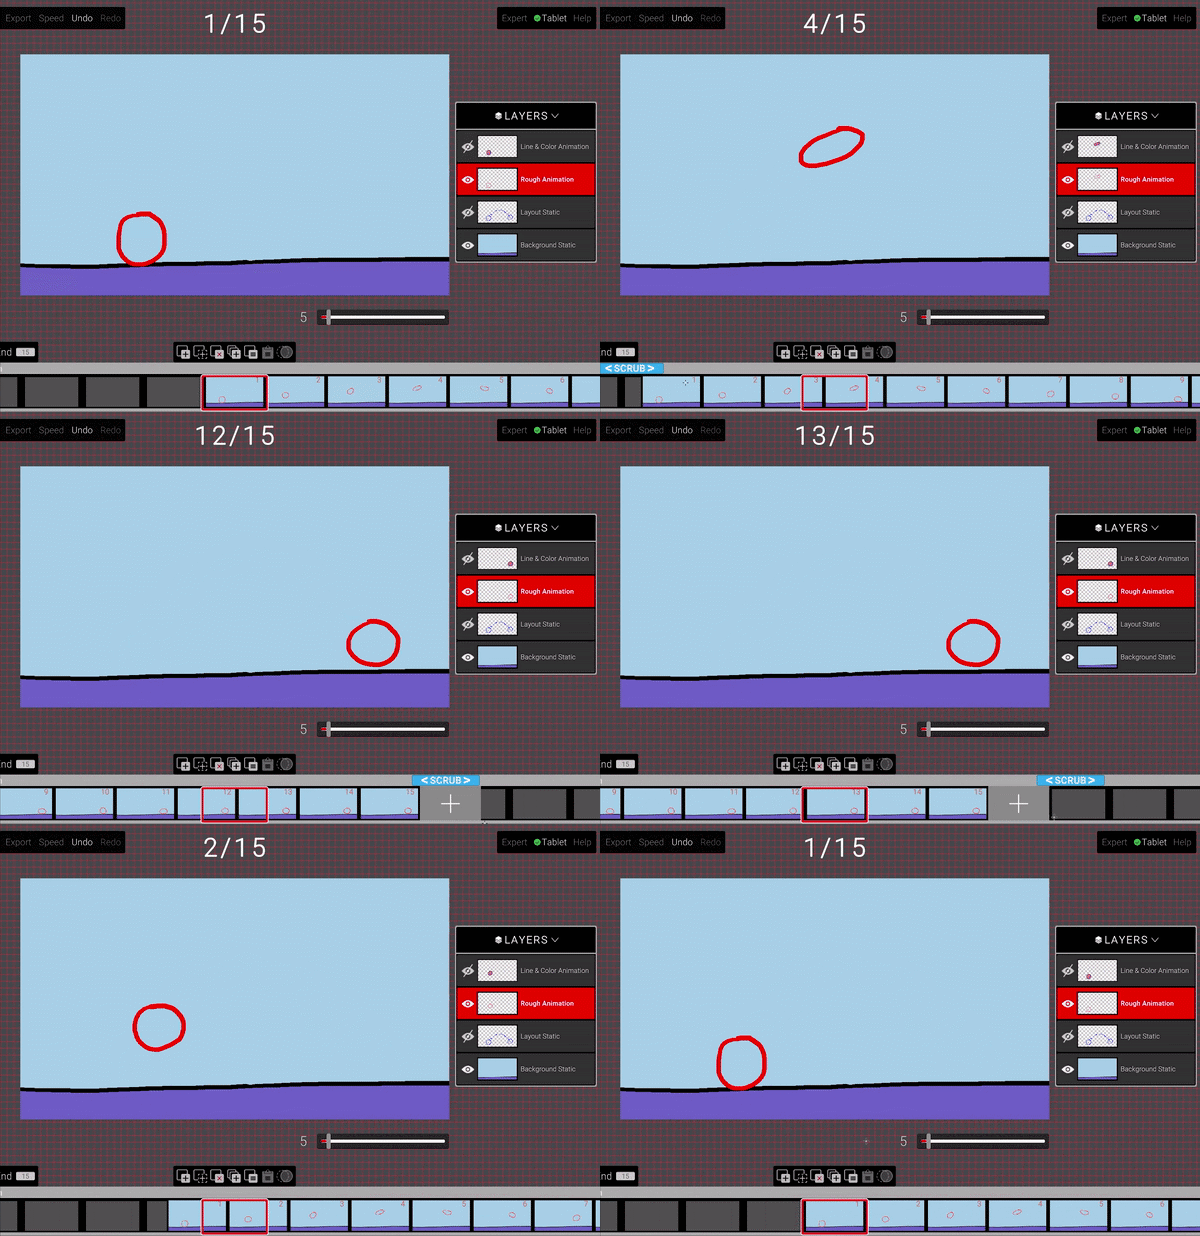
Rough Animation: A secondary layer, in which you can make rough reference drawings in red.
Layout Static: A single-frame layer, in which you can draw only in blue.
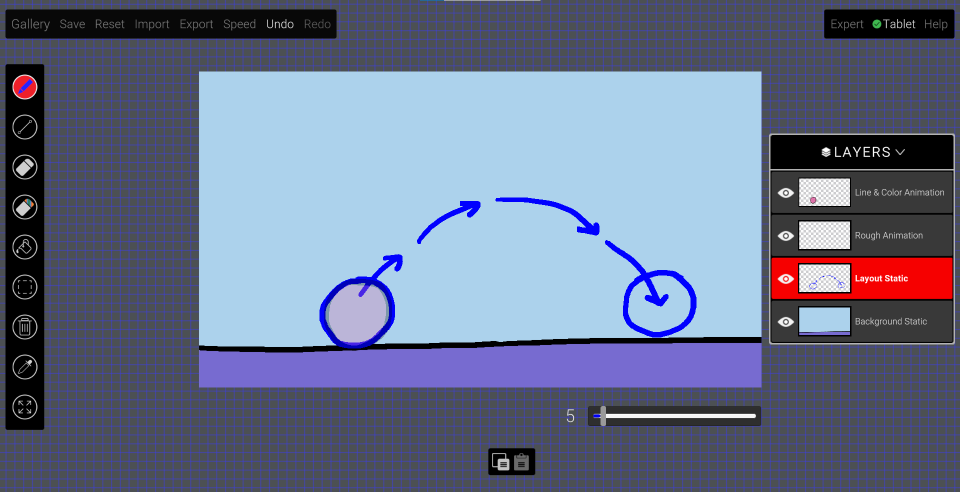
Background Static: A single-frame layer, in which you can draw a background for the scene.
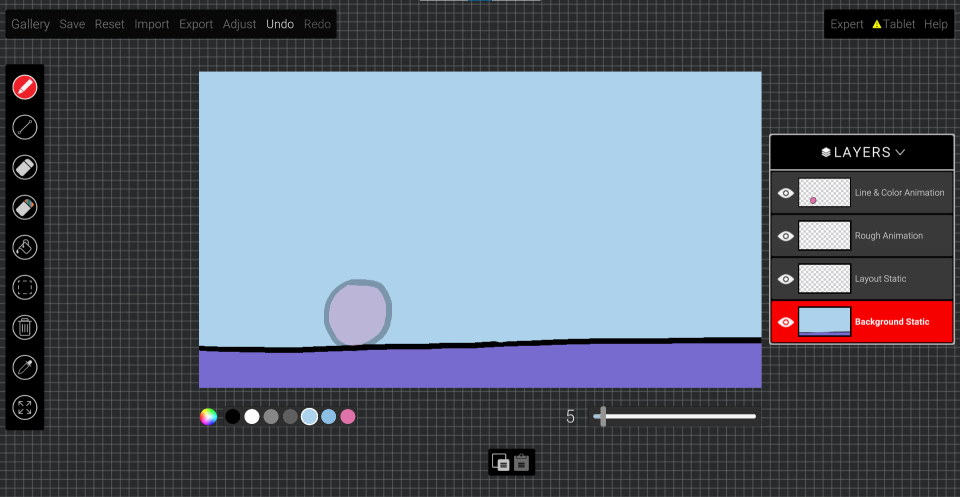
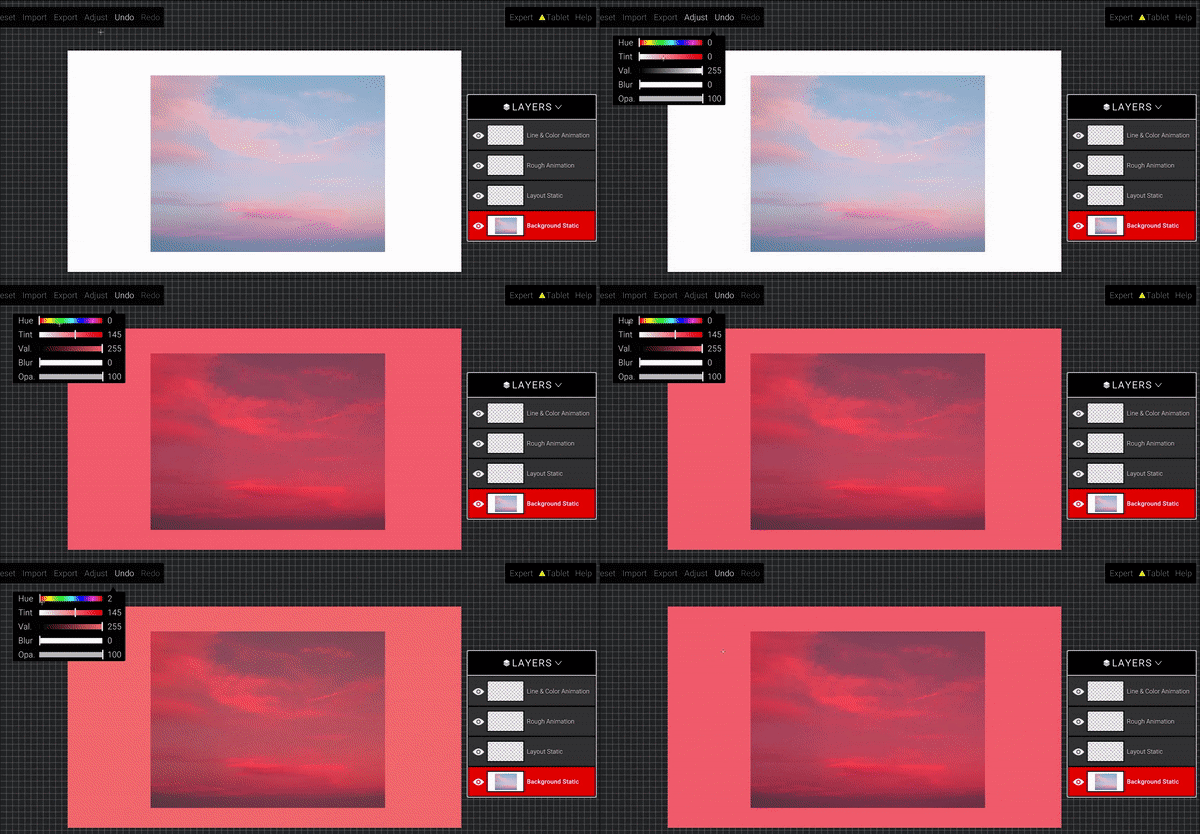
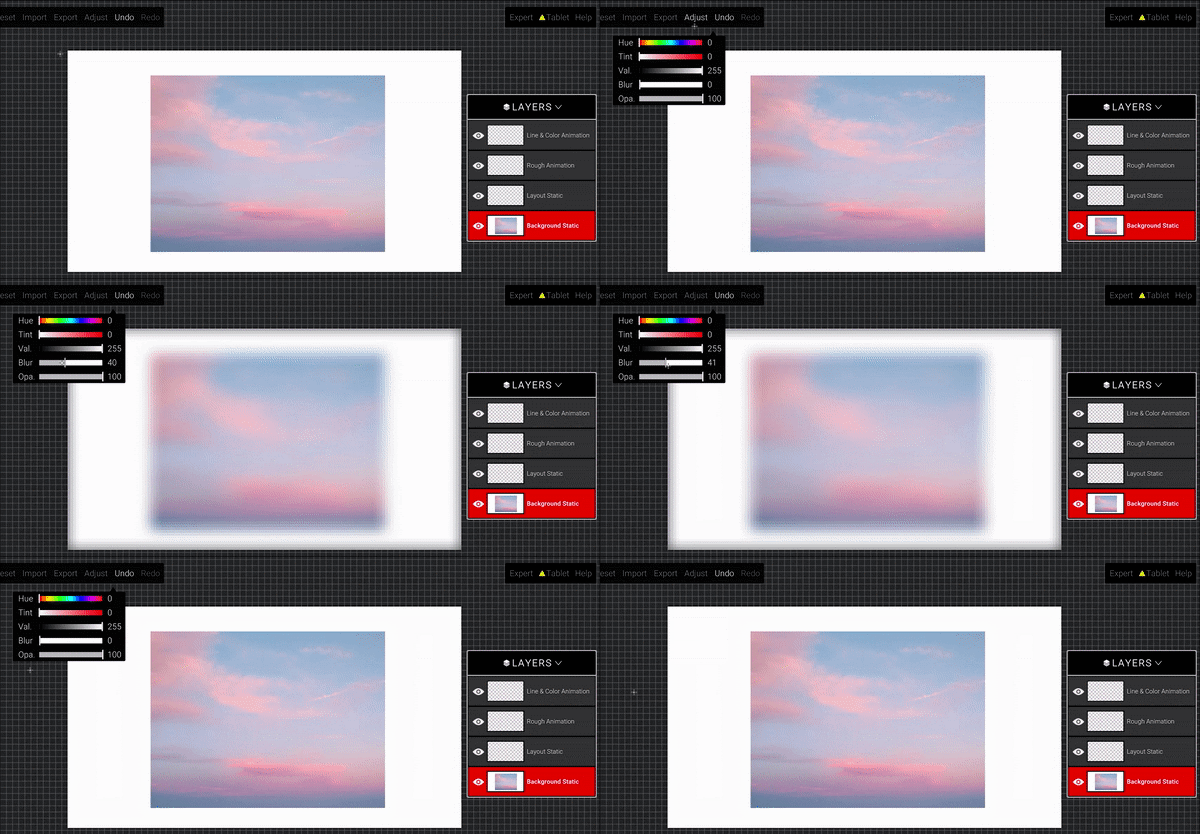
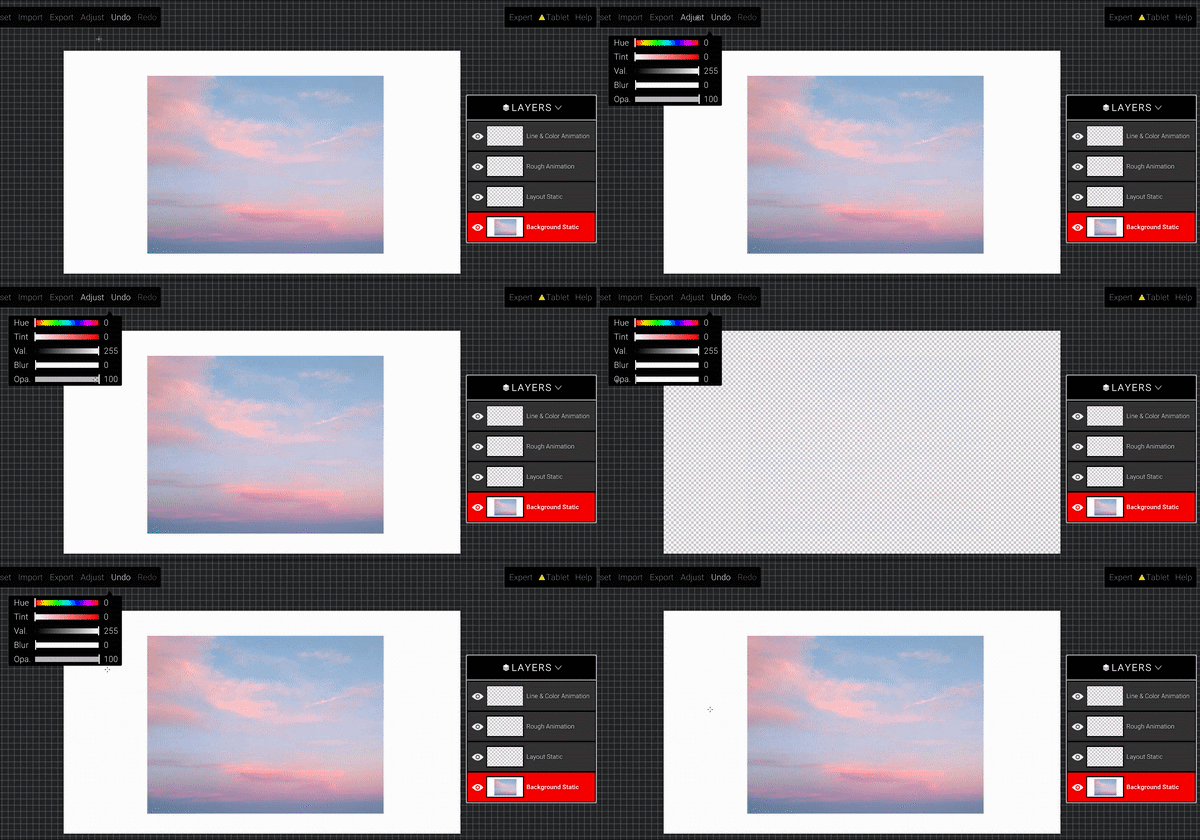
Adjust: Change the hue, tint, opacity and blur for the Background layer.

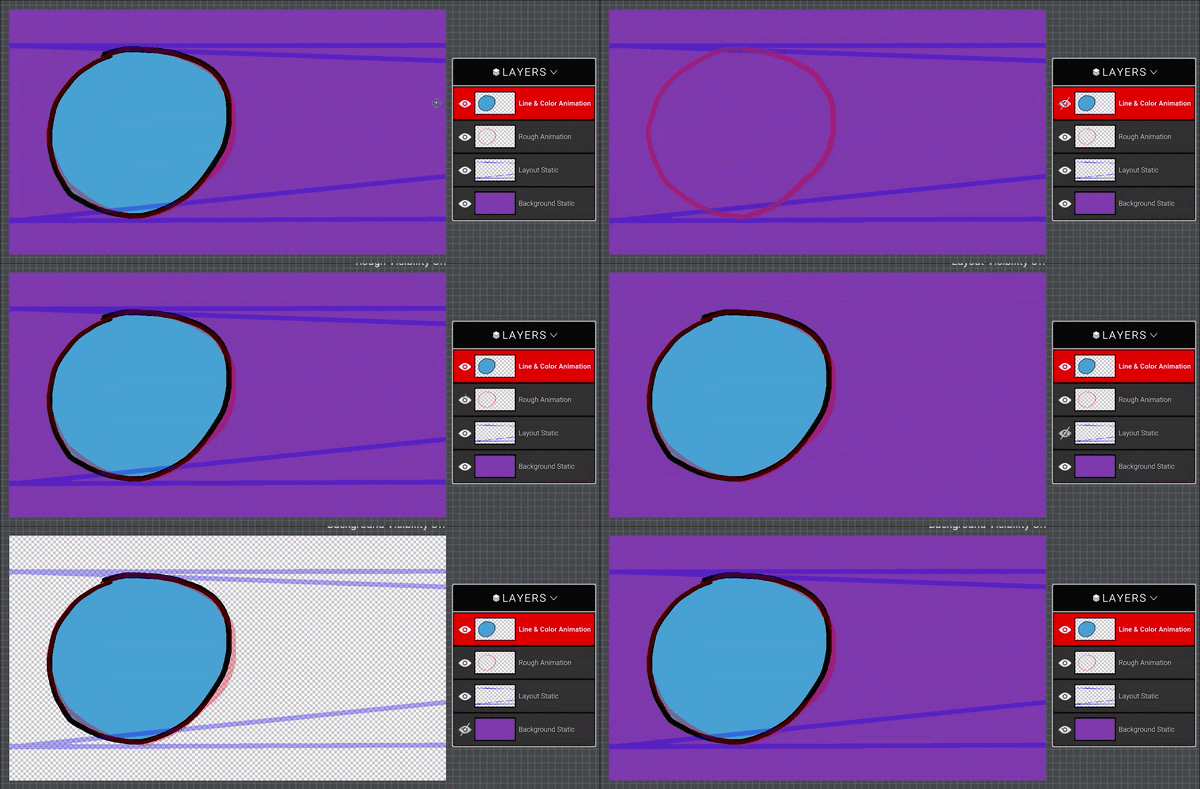
 Layer visibility: You can toggle layer visibility with the Eye icon.
You can minimise the Layer panel with the arrow in the header.
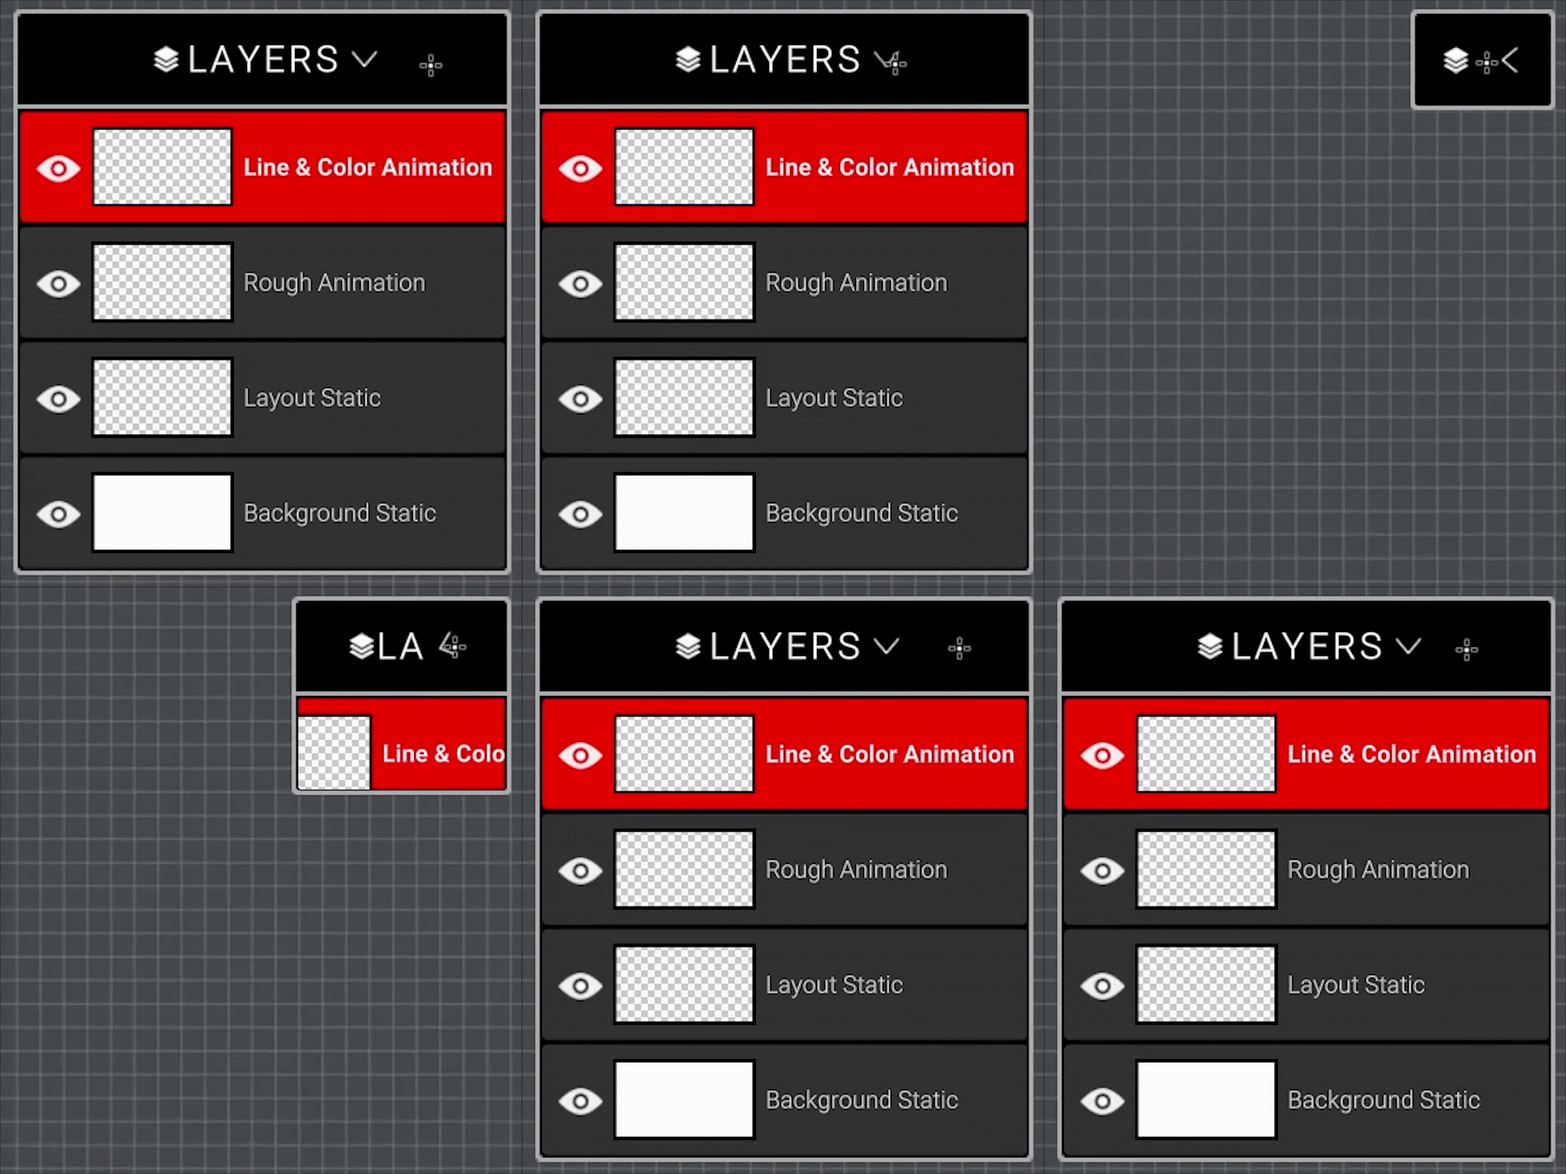
Line & Color, Rough and Layout layers are transparent by default.
File Operations
File operations are in the top left corner of the main scene UI.

- MacOS: Cmd + S Key
- MacOS: Cmd + R Key
- MacOS: Cmd + I Key
- MacOS: Cmd + E Key
- 24 FPS
- 12 FPS
- 10 FPS
- 5 FPS
- 2 FPS
- 1 FPS
- MacOS: Cmd + Z Key
- MacOS: Cmd + Shift + Z Key
In the top right corner menu:

Expert: Hides the UI overlay.
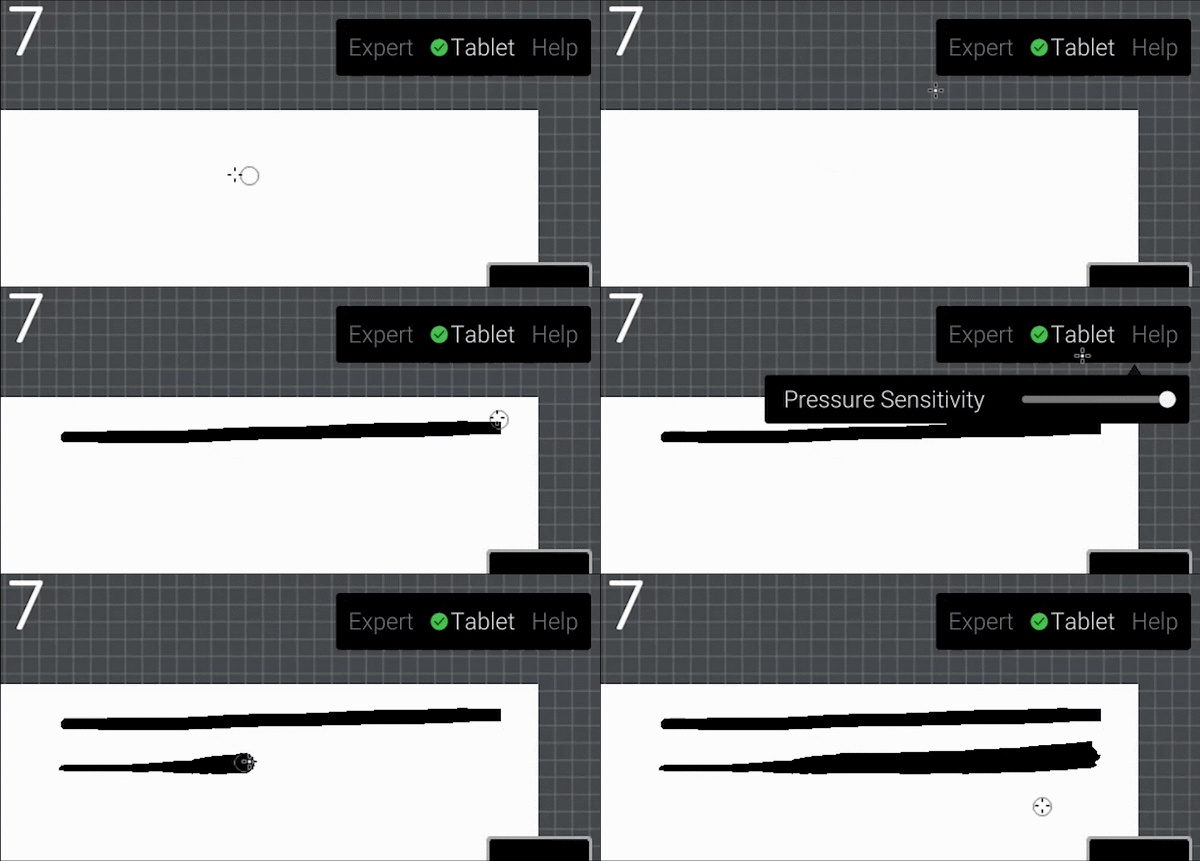
Tablet: Sets pressure sensitivity for a connected tablet pen.
Help: Guide for hotkeys and tutorial videos.
Import MP4, Image and Audio
Import Image(PNG/JPF) let you to add into to the frame in the timeline.
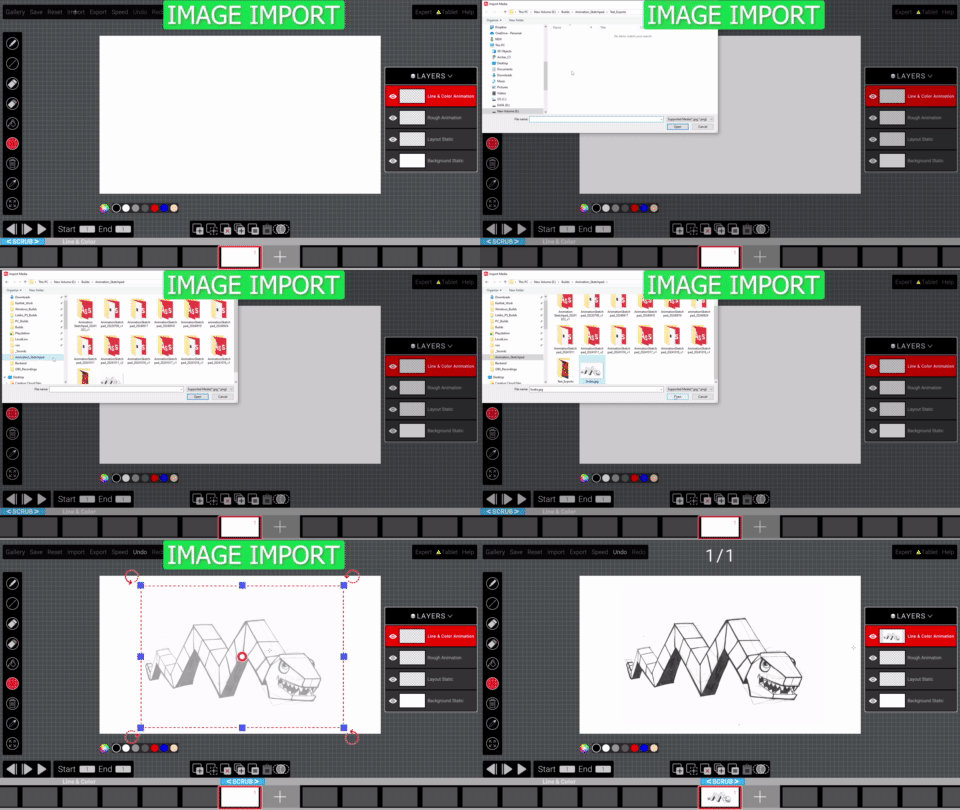
Import Video(Mp4) let you to add into to the scene and creates frames in the timeline.
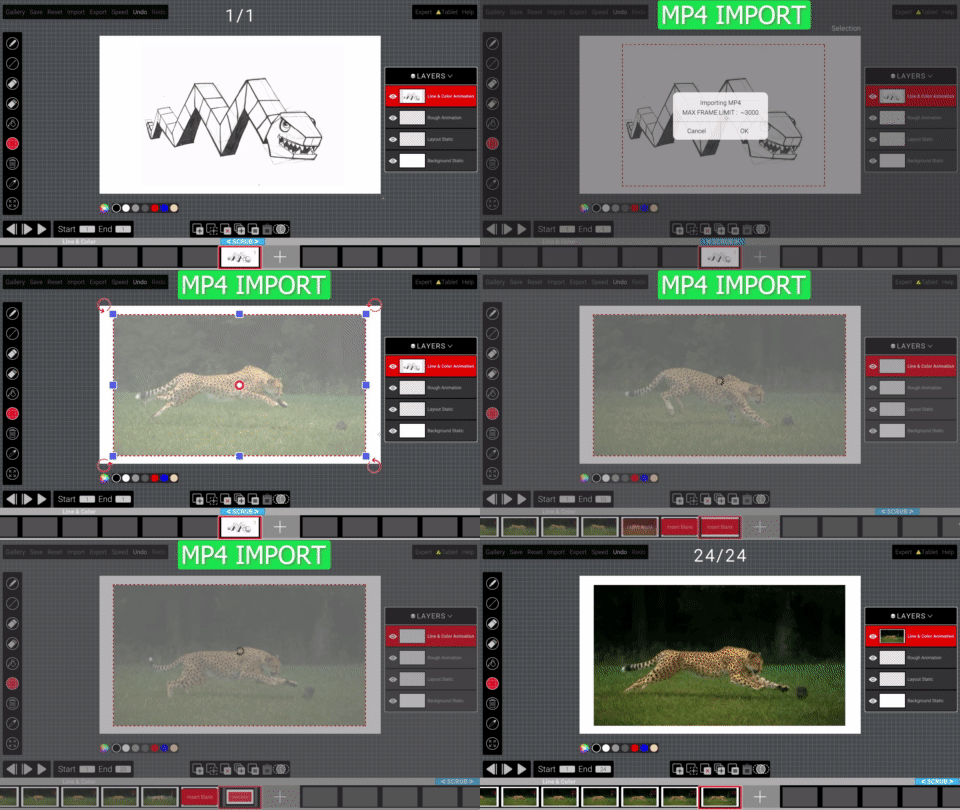
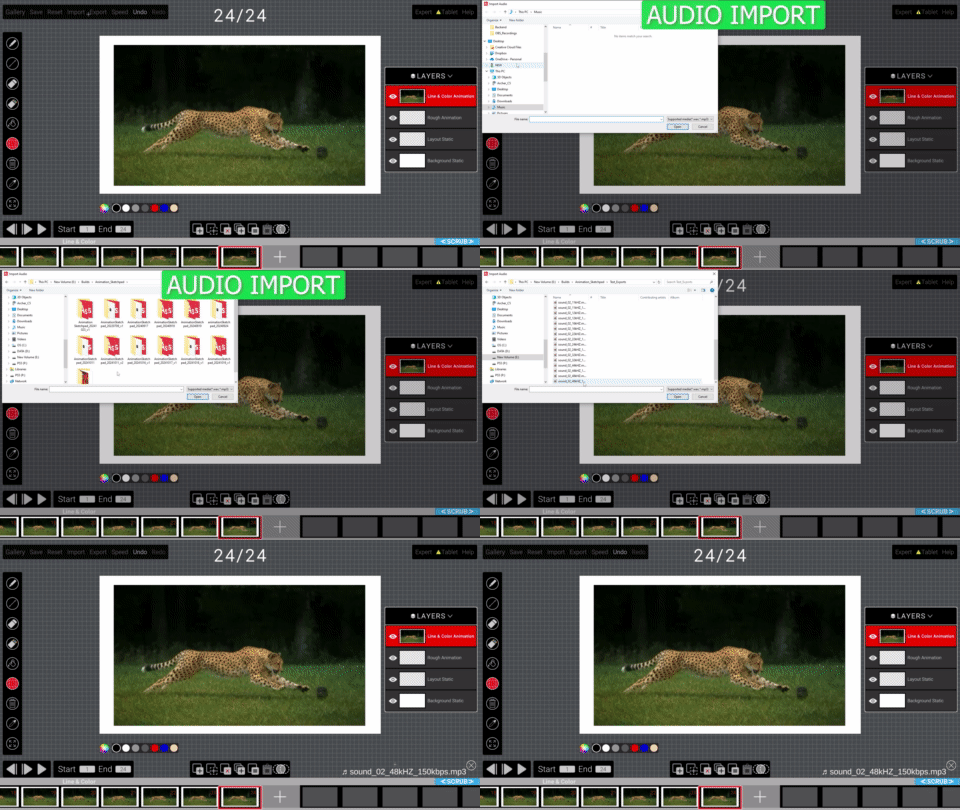
Import Audio(Mp3/Wav) let you to add audio in the timeline.
Export Scene
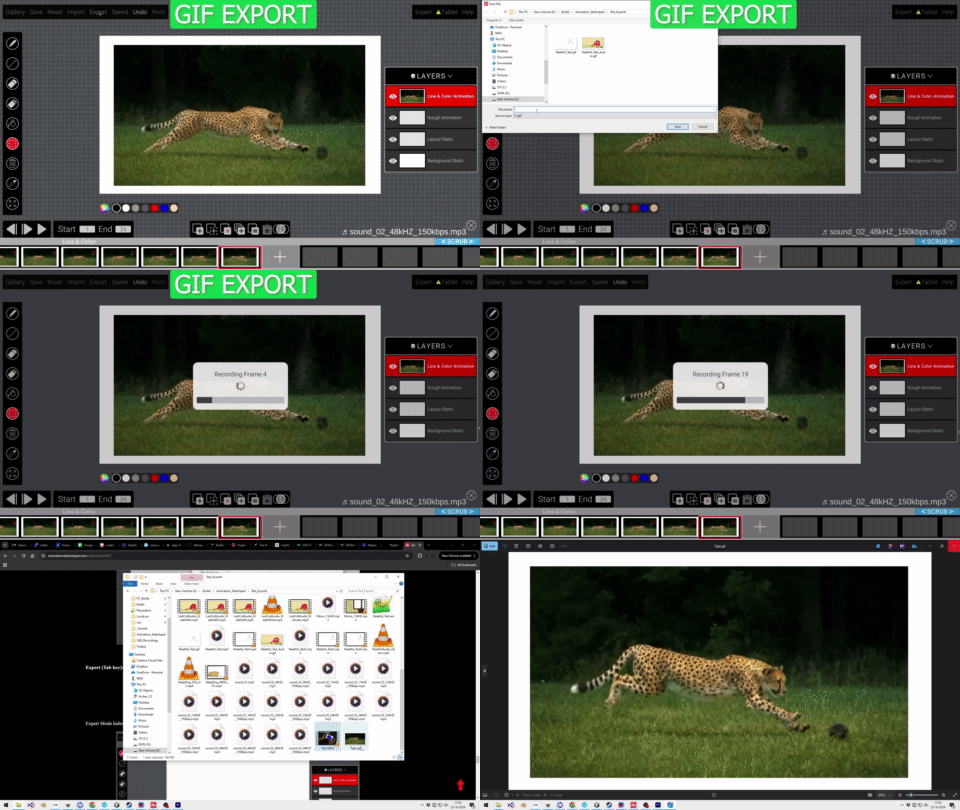
You can export the entire animation scene as a GIF.
You can export the entire animation scene as an MP4 video.

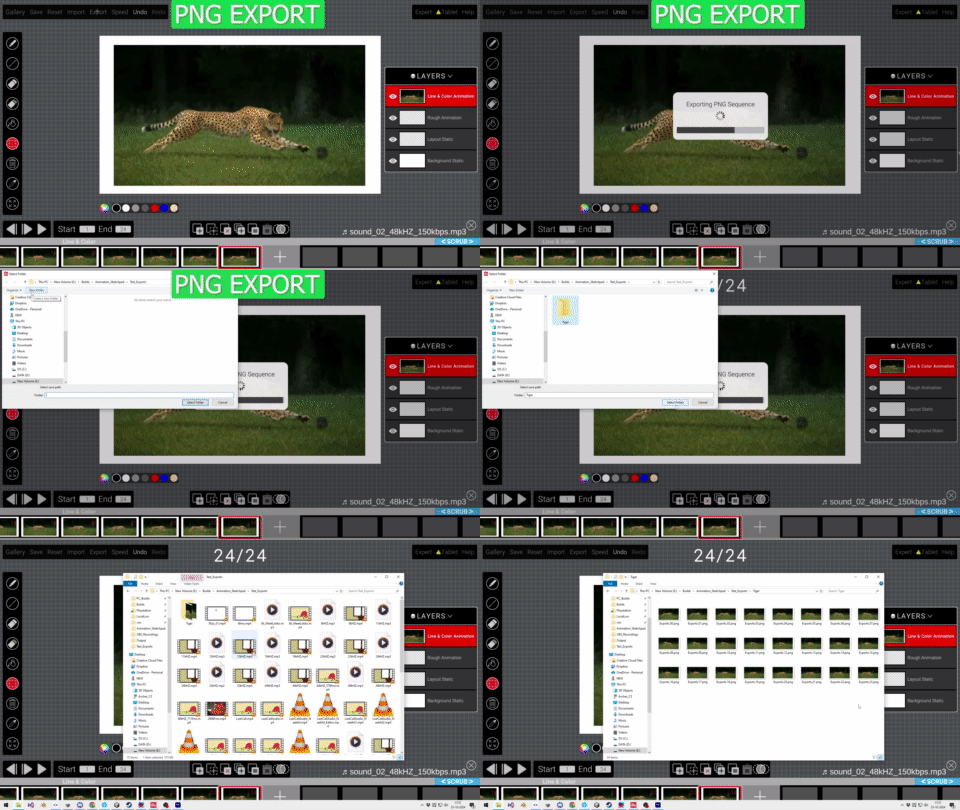
You can export the entire animation scene as PNG Sequence.
Expert Mode
Expert (Tab key): Enters Expert Mode.

Expert Mode hides the UI overlay and lets you work with just hotkeys.
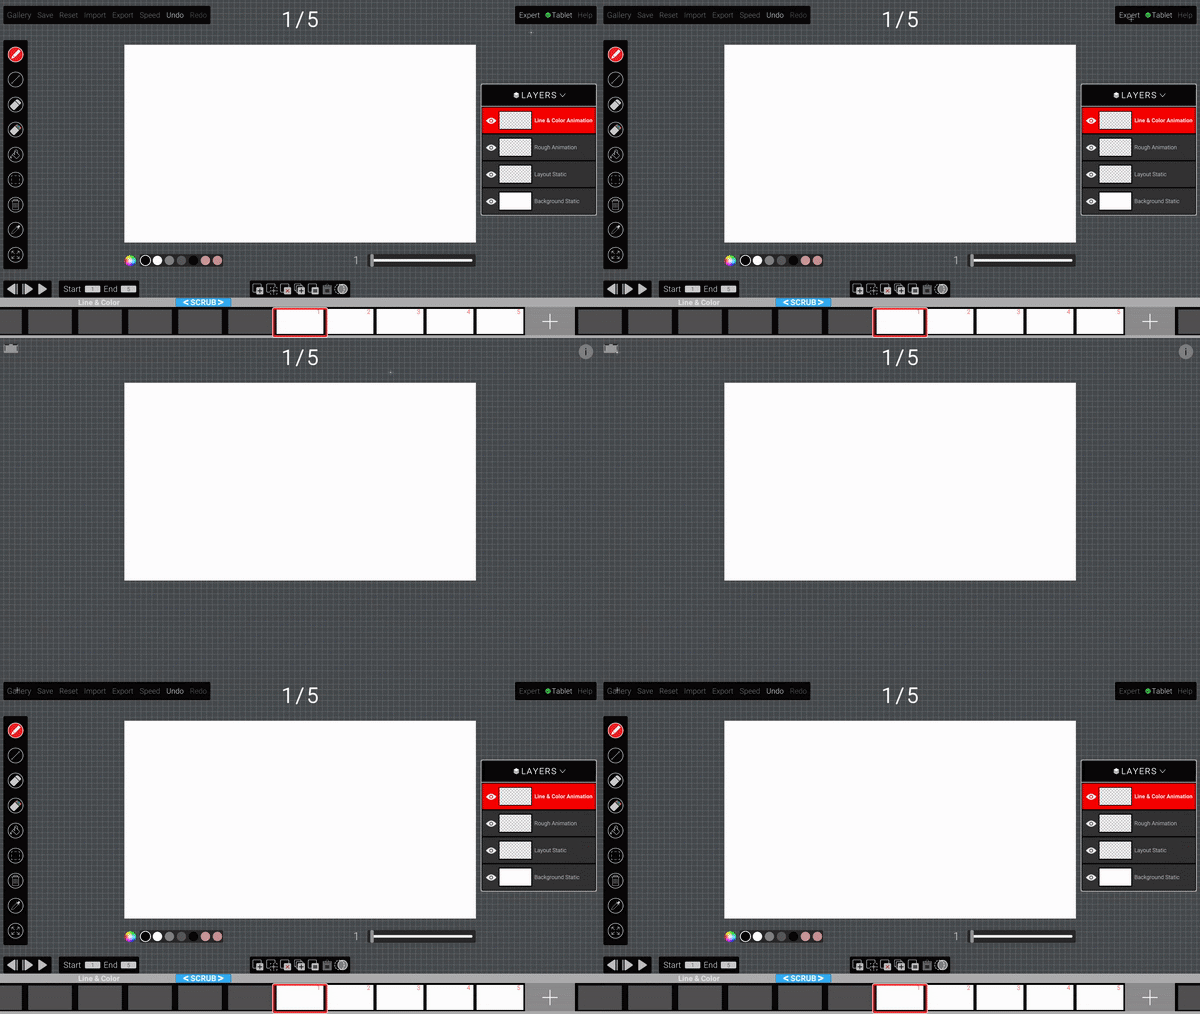
 Help: Use the Help icon to check the tutorials and hotkey guide.
 Exit Expert Mode: You can use the Exit icon or the Tab key to exit Expert Mode.
Tablet Operations
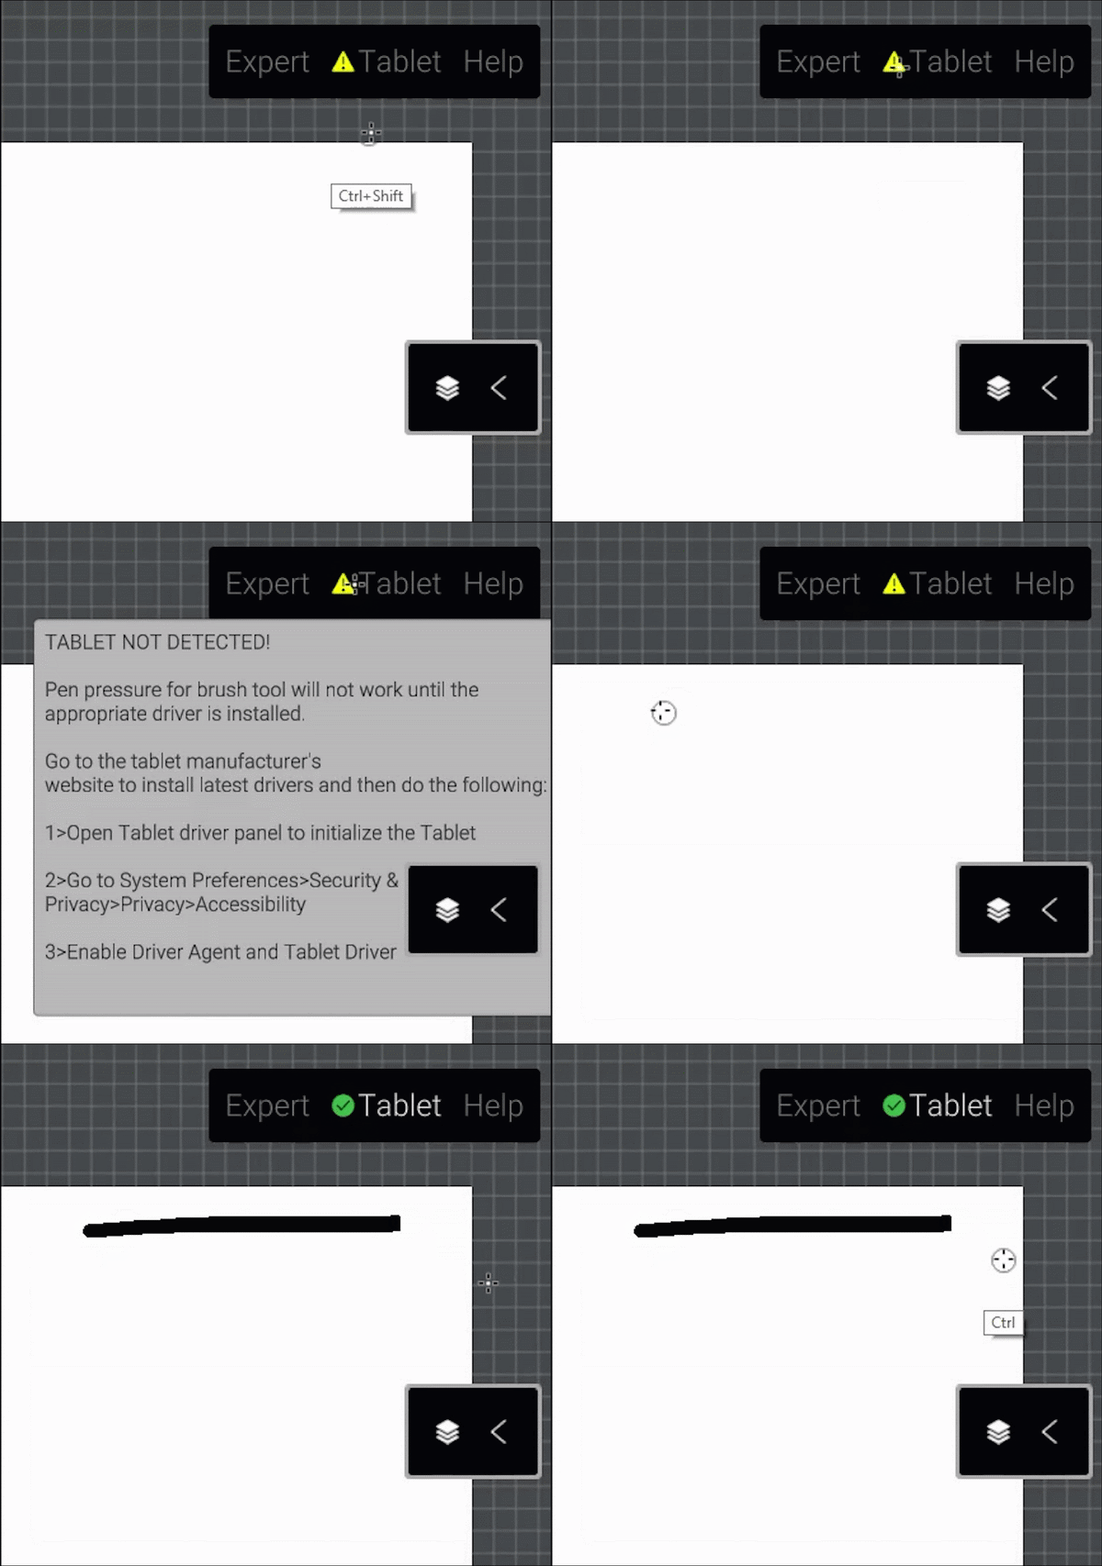
When a tablet pen isn't detected, the menu displays a yellow warning sign. When a pen is detected, the men displays a green tick sign.
Tablet: Increase or decrease the tablet pen's pressure sensitivity.
Timeline
The Timeline is displayed at the bottom of the screen in the Line and Color Animation and Rough Animation layers, and displays all the frames in the scene as a row of thumbnails.
Scrubbing
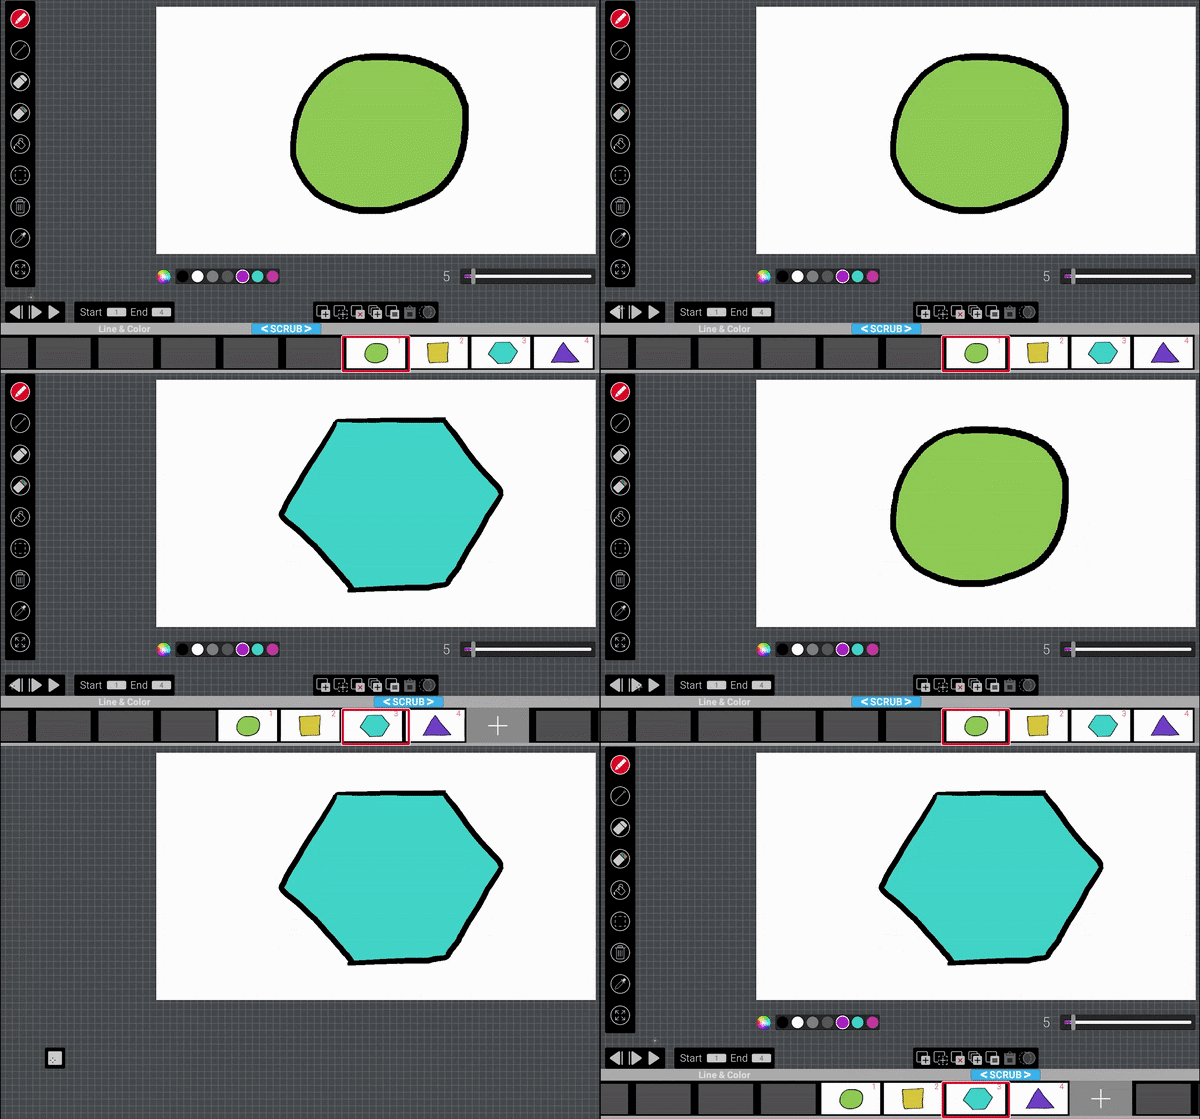
You can scrub through the timeline by dragging the blue Scrub button in the scrollbar, or by dragging the thumbnails.

Move Frames
You can move frames by holding down the Alt key and clicking on a frame. The selected frame will be highlighted with a blue border and pop out of the timeline. Drag the frame across the timeline to drop it in a different place.

Add Frames
You can add frames at the end of the scene with the Enter key or by clicking on the + button in the Timeline.

Delete Multiple Frames
You can delete multiple frames by holding down the Ctrl key and dragging it across the frames you want to delete. Selected frames will be outlined by a red border.

Overwrite Multiple Frames
You can copy a frame and overwrite it over adjacent frames by holding down the Shift key and dragging it across the frames you want to replace. Selected frames will be outlined by a blue border, and they will be replaced by the selected frame on that layer.


